Lesson 5
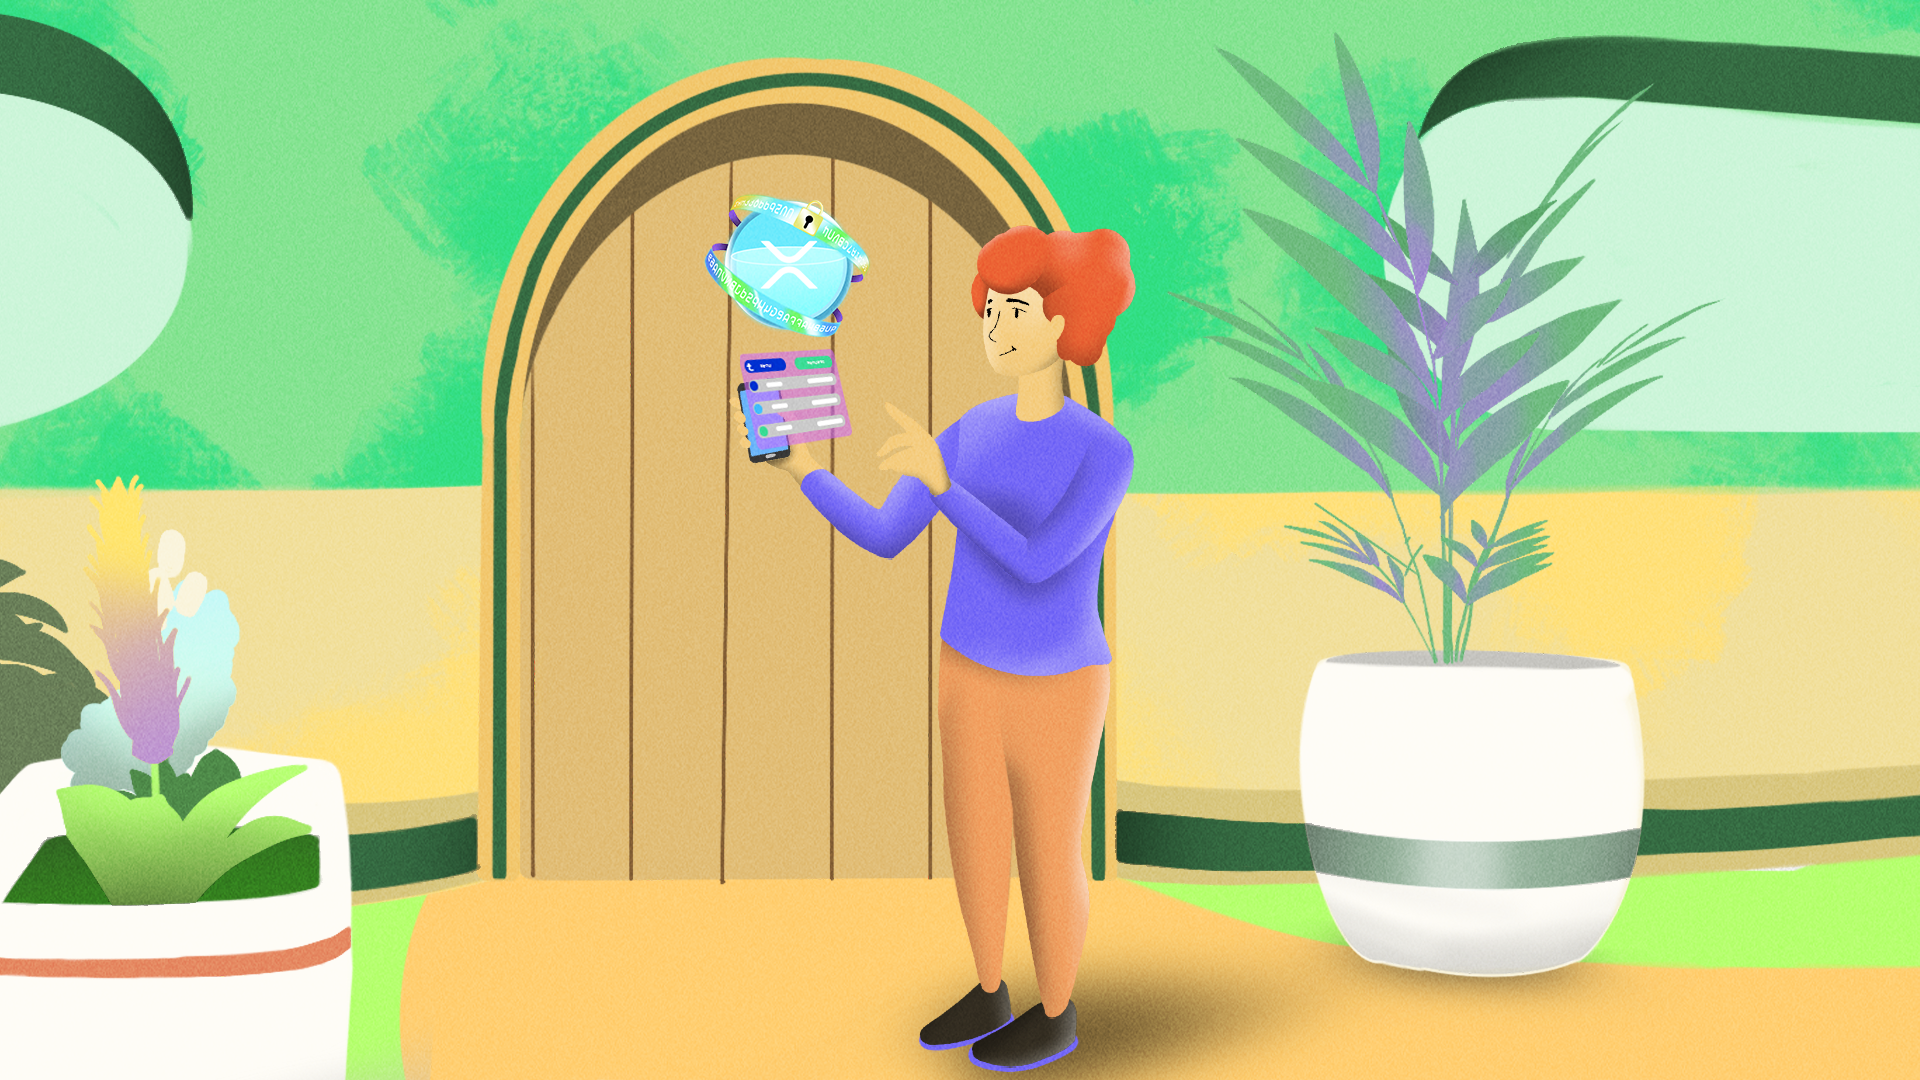
Setting Up Your XRP Wallet
A step-by-step guide to secure XRP wallet setup and funding.
Setting up an XRP wallet correctly is essential for safe and efficient transactions. Choosing the right wallet, securing access, and understanding XRP Ledger requirements help users manage their funds effectively.
This guide will walk through the setup process, XRP’s wallet reserve requirement, and key security steps to protect funds.
Wallet Setup Process

To start using an XRP wallet, follow these steps:
Downloading
Always download wallets from official sources to avoid phishing scams or malware.
Creating
Generate a secure seed phrase, which acts as your private key backup. Store it offline to prevent unauthorized access.
Funding
Acquire XRP through exchanges, peer-to-peer (P2P) platforms, or fiat onramps (services that let you buy XRP directly with traditional money) before making transactions.

Understanding the XRP Wallet Reserve
Unlike other cryptocurrencies, XRP wallets require a minimum reserve:
1 XRP requirement
This small reserve prevents spam by ensuring that every wallet maintains a balance, keeping the ledger efficient. (Note: This reserve dropped from 10 XRP in December 2024.)
Managing costs
Each new self-custody wallet needs its own 1 XRP reserve, so plan carefully if creating multiple accounts. Exchanges like Uphold or Coinbase handle this for you, so no reserve is required while your XRP stays with them. New accounts allow for two free trustlines to be created. After the first two, each trustline costs 0.2 XRP.
Initial Security Measures
Security is a top priority when setting up an XRP wallet:
Two-Factor Authentication (2FA)
If available, enable 2FA to add an extra layer of security.
Backup
Store your seed phrase in a secure offline location, such as a fireproof safe, and never share it online.
By following these steps, users can securely set up and maintain their XRP wallets while ensuring full control over their assets.