Lesson 2
Exploring information on the XRP Ledger
Tools to aid your XRPL learning journey

A quick recap of what we’ve learned so far:
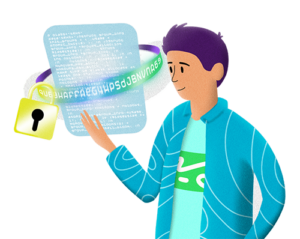 Since a request is a non-modifying action that does not change anything, it means that with the right bit of code, you can look up what’s happening on the ledger. This is a core component to what makes blockchain technology open, accessible and transparent: anyone can look things up!
Before we dig into some code examples, here are a few ways to look things up on the XRP Ledger:
In the next couple lessons, we’re going to take a look at some code that can be used to look things up on the XRPL, but there’s a few easier ways you can start with. Thanks to some of the great community projects out there, you can load up a website and do everything from looking up account information or transaction specifics to getting a real-time visual of the blocks being written to the blockchain.
Since a request is a non-modifying action that does not change anything, it means that with the right bit of code, you can look up what’s happening on the ledger. This is a core component to what makes blockchain technology open, accessible and transparent: anyone can look things up!
Before we dig into some code examples, here are a few ways to look things up on the XRP Ledger:
In the next couple lessons, we’re going to take a look at some code that can be used to look things up on the XRPL, but there’s a few easier ways you can start with. Thanks to some of the great community projects out there, you can load up a website and do everything from looking up account information or transaction specifics to getting a real-time visual of the blocks being written to the blockchain.
- A request is a way for anyone to look things up on the ledger, and it doesn’t change anything. A request is a ‘read-only’ operation.
- A signed transaction is a transaction which alters the state of the ledger. It is created and signed by the sender using their private key.
Let’s look at some transaction data!
Since a request is a non-modifying action that does not change anything, it means that with the right bit of code, you can look up what’s happening on the ledger. This is a core component to what makes blockchain technology open, accessible and transparent: anyone can look things up!
Before we dig into some code examples, here are a few ways to look things up on the XRP Ledger:
In the next couple lessons, we’re going to take a look at some code that can be used to look things up on the XRPL, but there’s a few easier ways you can start with. Thanks to some of the great community projects out there, you can load up a website and do everything from looking up account information or transaction specifics to getting a real-time visual of the blocks being written to the blockchain.